Add Subtasks to a Task
Subtasks break a main task into smaller, trackable pieces. Both clients and Genies can view subtasks inside the task page. Clients can create them; Genies use them to track progress.
Where to Find Subtasks
Open any task. Inside the task page, subtasks are accessible in two ways:
-
Subtasks tab — listed at the top of the task page alongside collaboration buttons (Chat, Comments, Activity, Files).

-
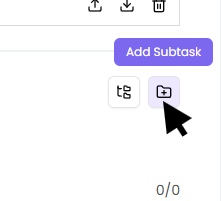
Add Subtask button — located below the task description, next to the Add Milestone button. Hovering over it shows a tooltip: "Add Subtask".
How to Add a Subtask
-
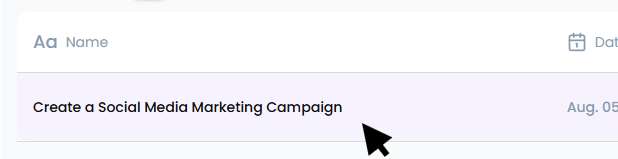
Open the task you want to break down.
-
Click the Add Subtask button — either the one at the top of the page or the icon below the task description.

-
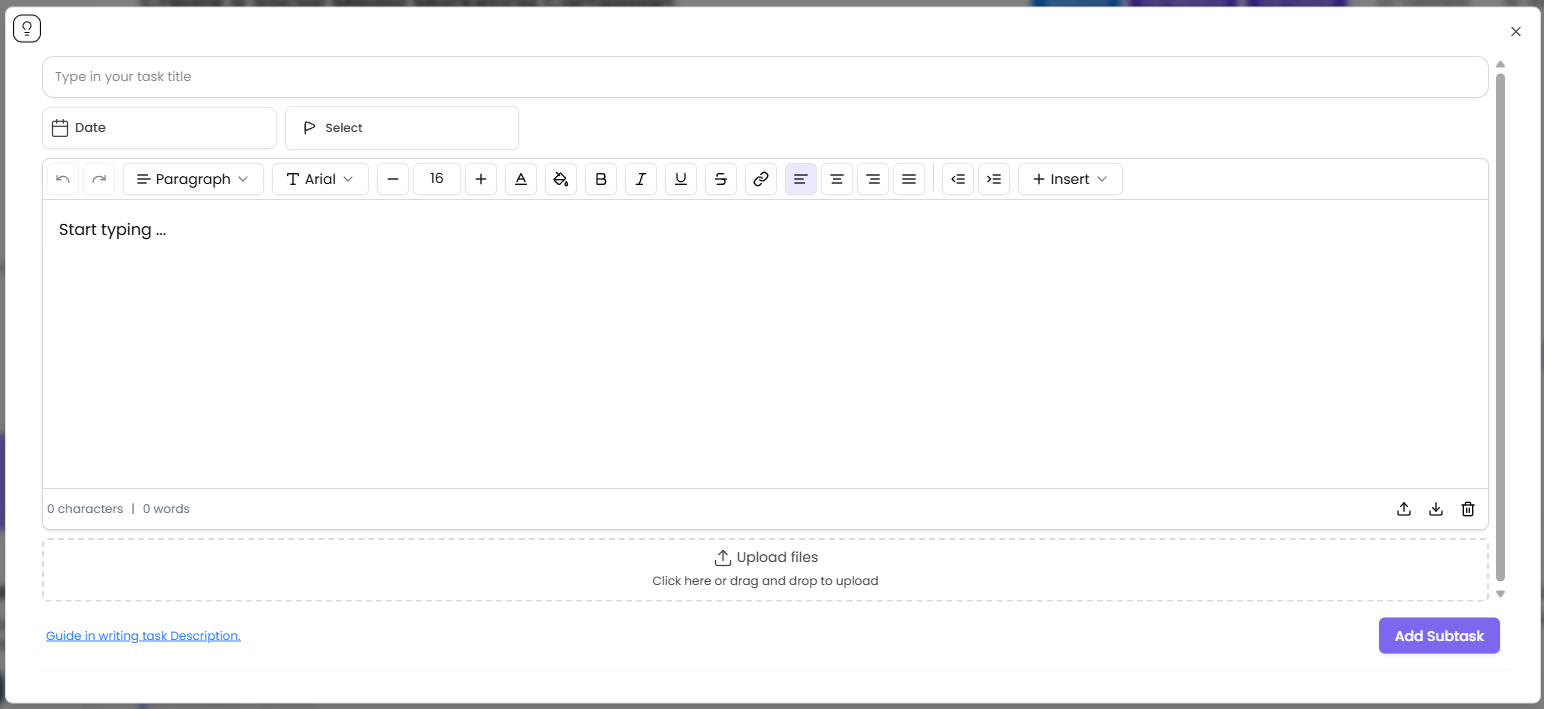
A pop-up will appear. Fill in the subtask details:
-
Title — a clear, specific name for the subtask.
-
Date — start and end dates of the subtask
-
Priority Level — Low, Normal, High, Urgent
-
Description — description of subtask
-
-
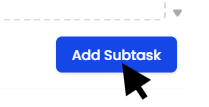
Click on Add Subtask to save the subtask.
Repeat for each subtask you need.
Tracking Subtask Progress
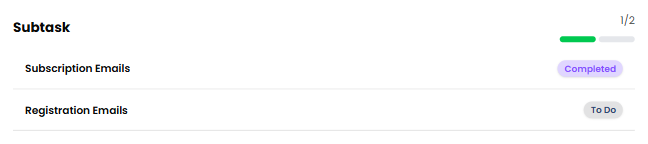
Once subtasks are created, the task page shows a progress indicator. As subtasks are marked completed, a green bar updates to reflect how many are done (for example: 3/4 completed). All updates sync in real time for everyone on the task.
What Each Subtask Includes
Title, Date, Priority Level, Description, Status
Notes
-
Subtasks are visible to both the client and the assigned Genie.
-
The task page is responsive — subtasks are accessible on desktop and mobile.
-
All status and subtask changes appear in the Activity log.