Register as a Client on RemoteGenies
How to create your client account
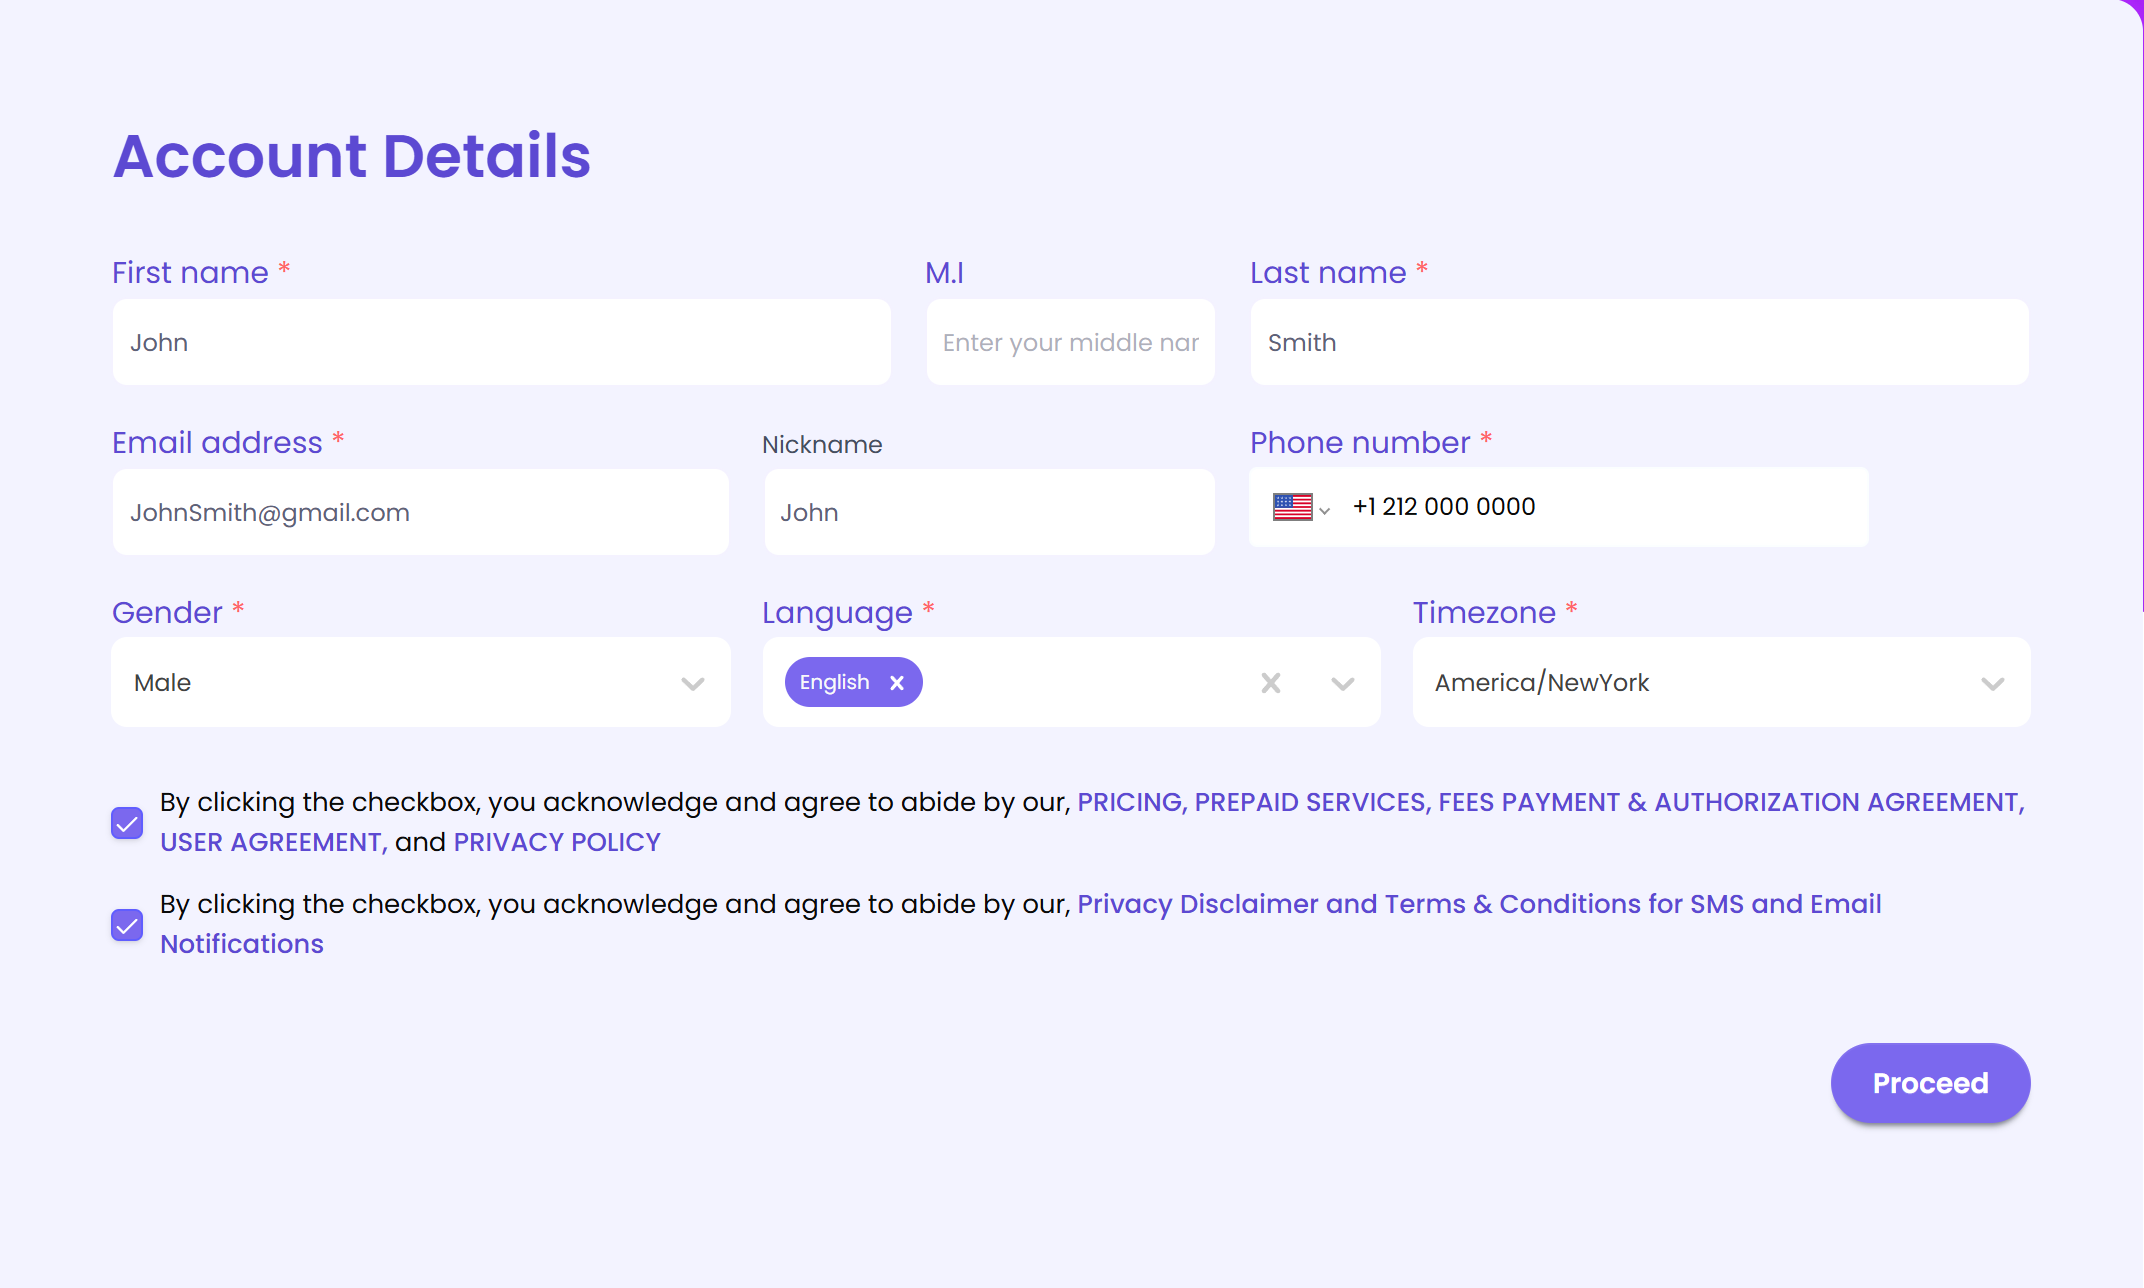
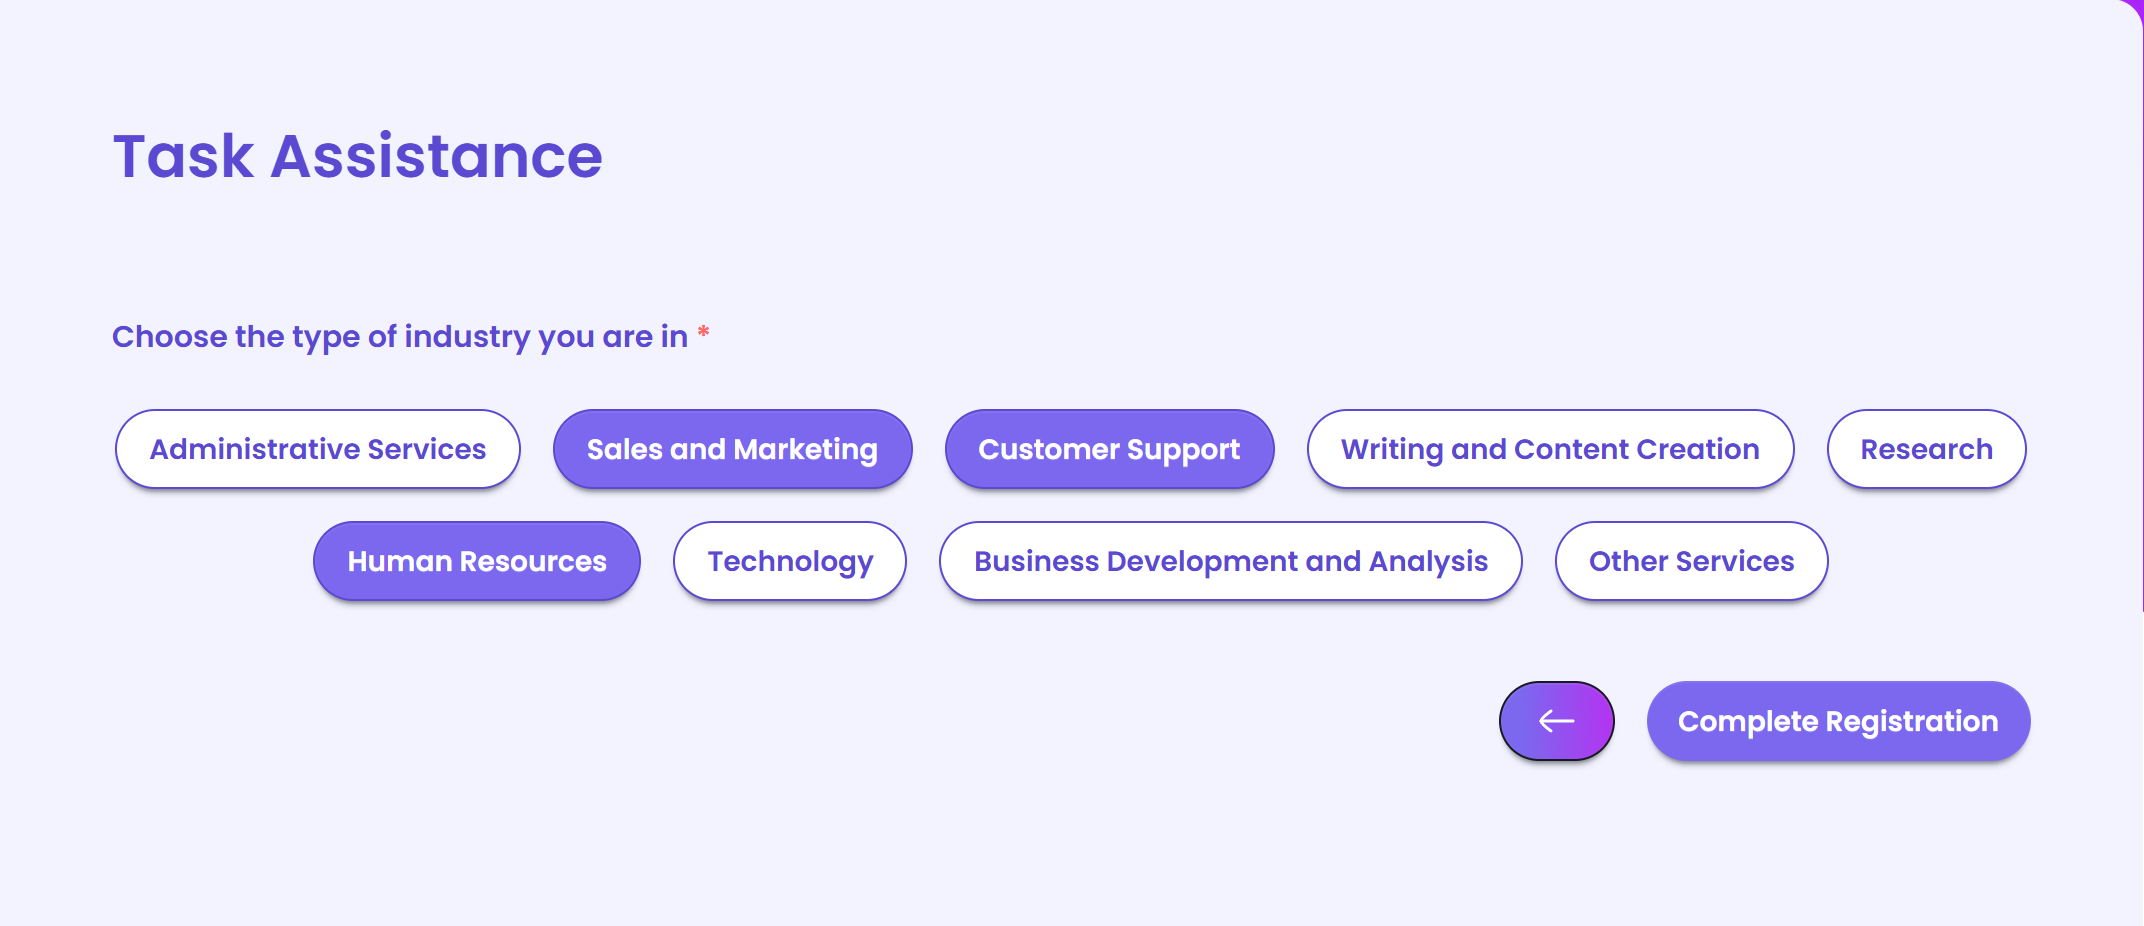
Go to the client registration page and fill out the registration form.
What you'll need to provide
-
Email address — used to verify your account
-
Nickname — required, letters and numbers only, 15 characters maximum. If you enter something invalid, you'll see: "Please enter a valid nickname (letters and numbers only, max 15 characters)."
-
Timezone — select your local timezone from the dropdown
What happens after you submit
-
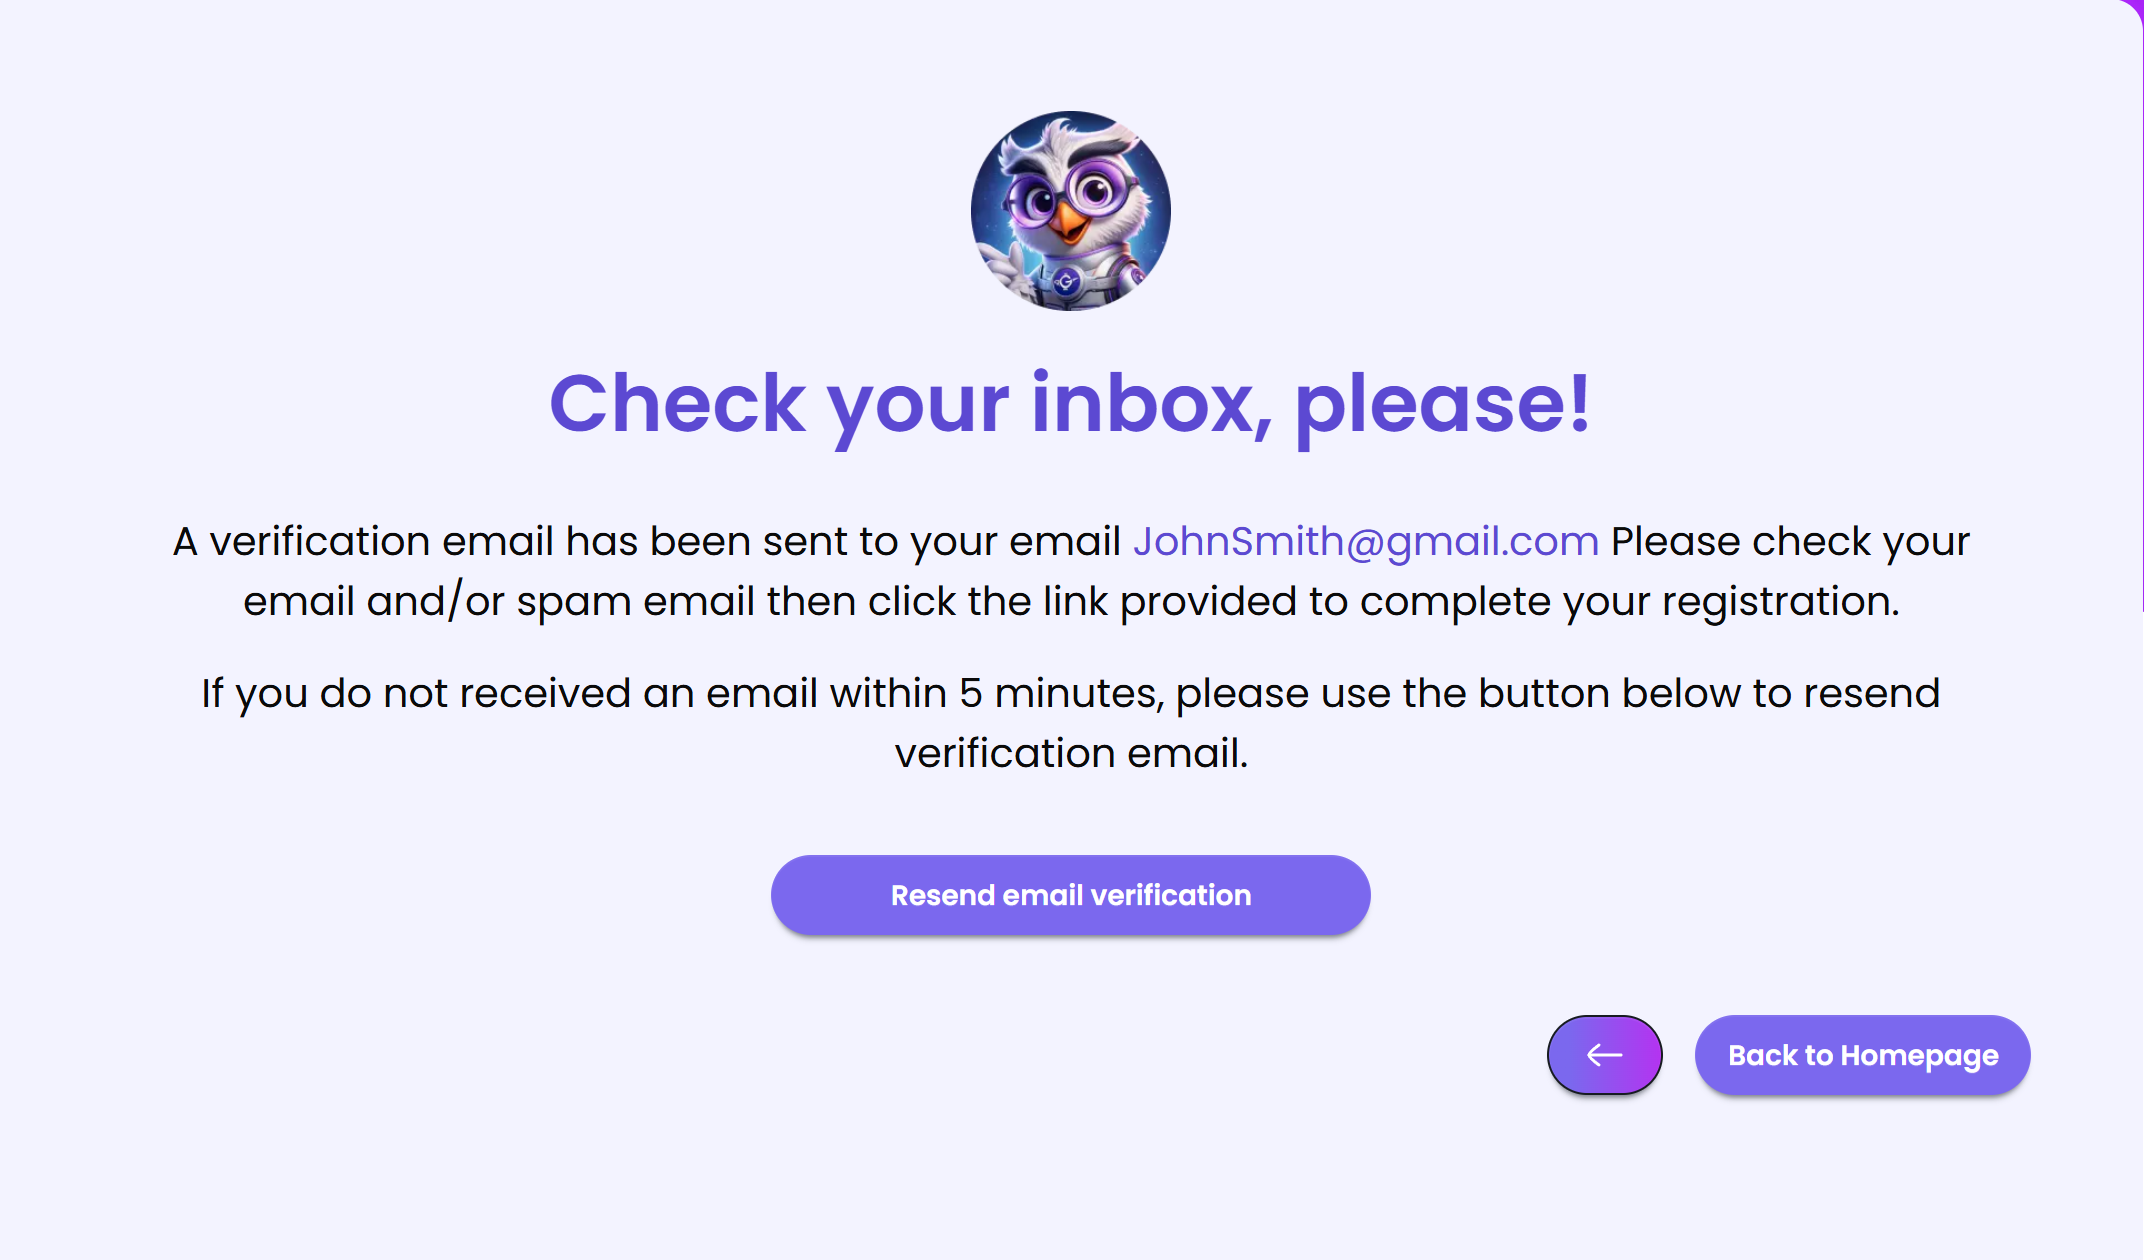
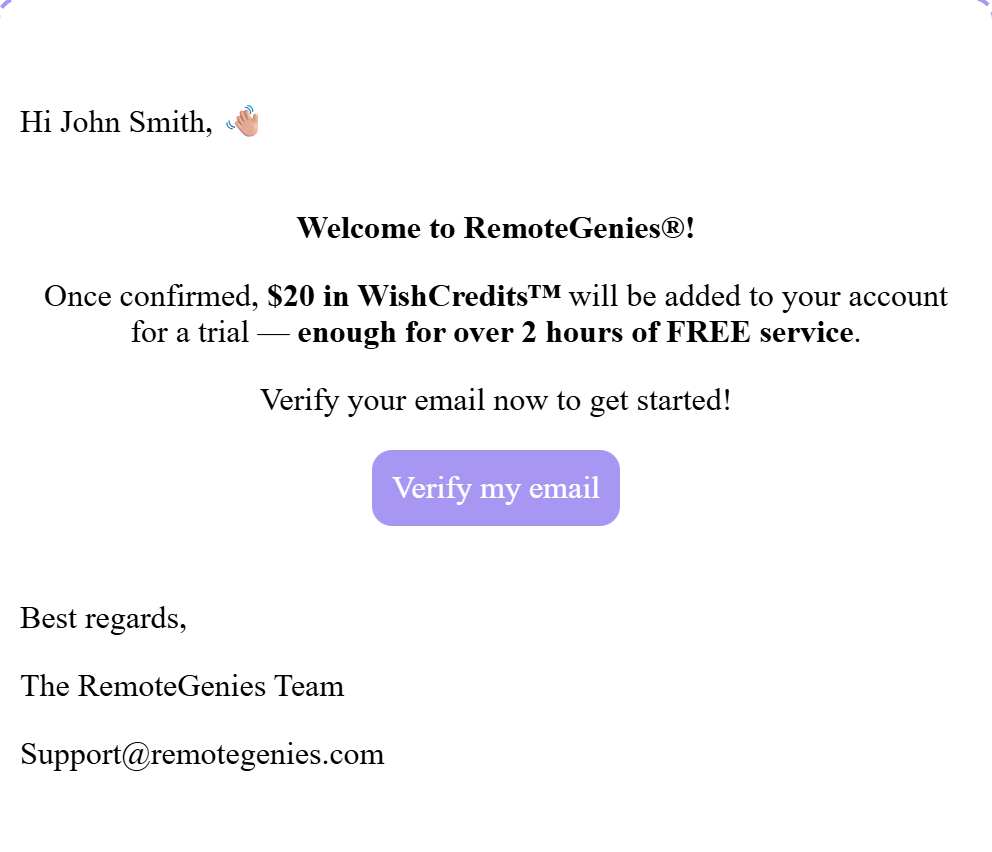
You'll receive an email verification notification. Check your inbox and verify your email address.
-
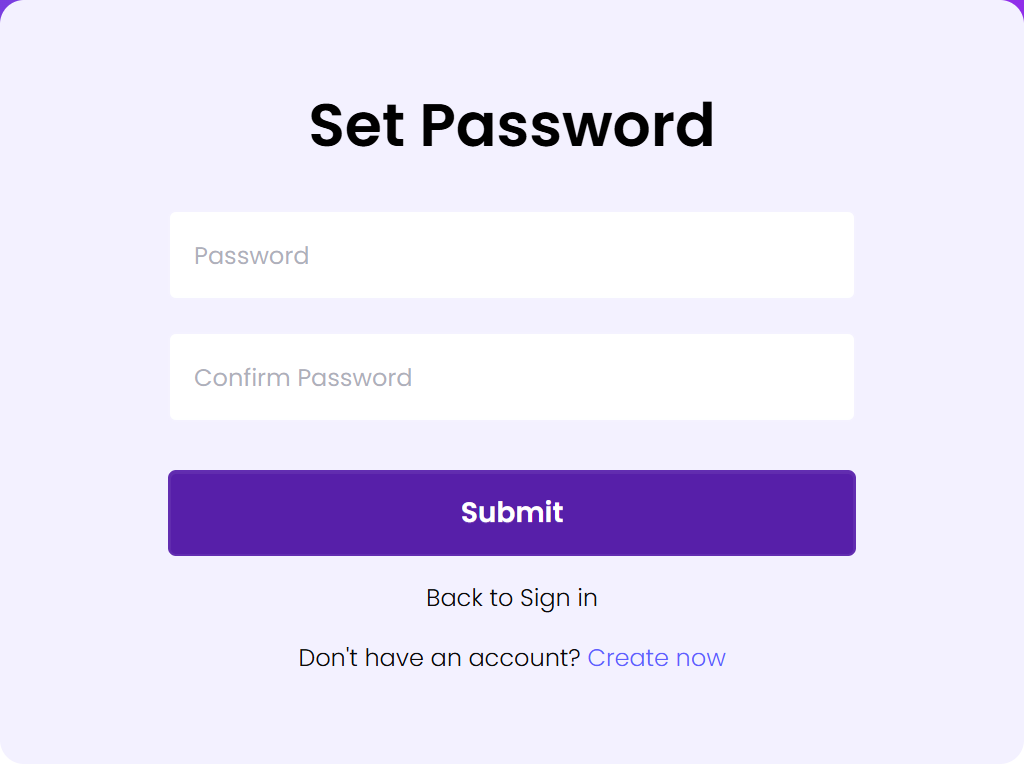
After verification, you'll be able to set your password
-
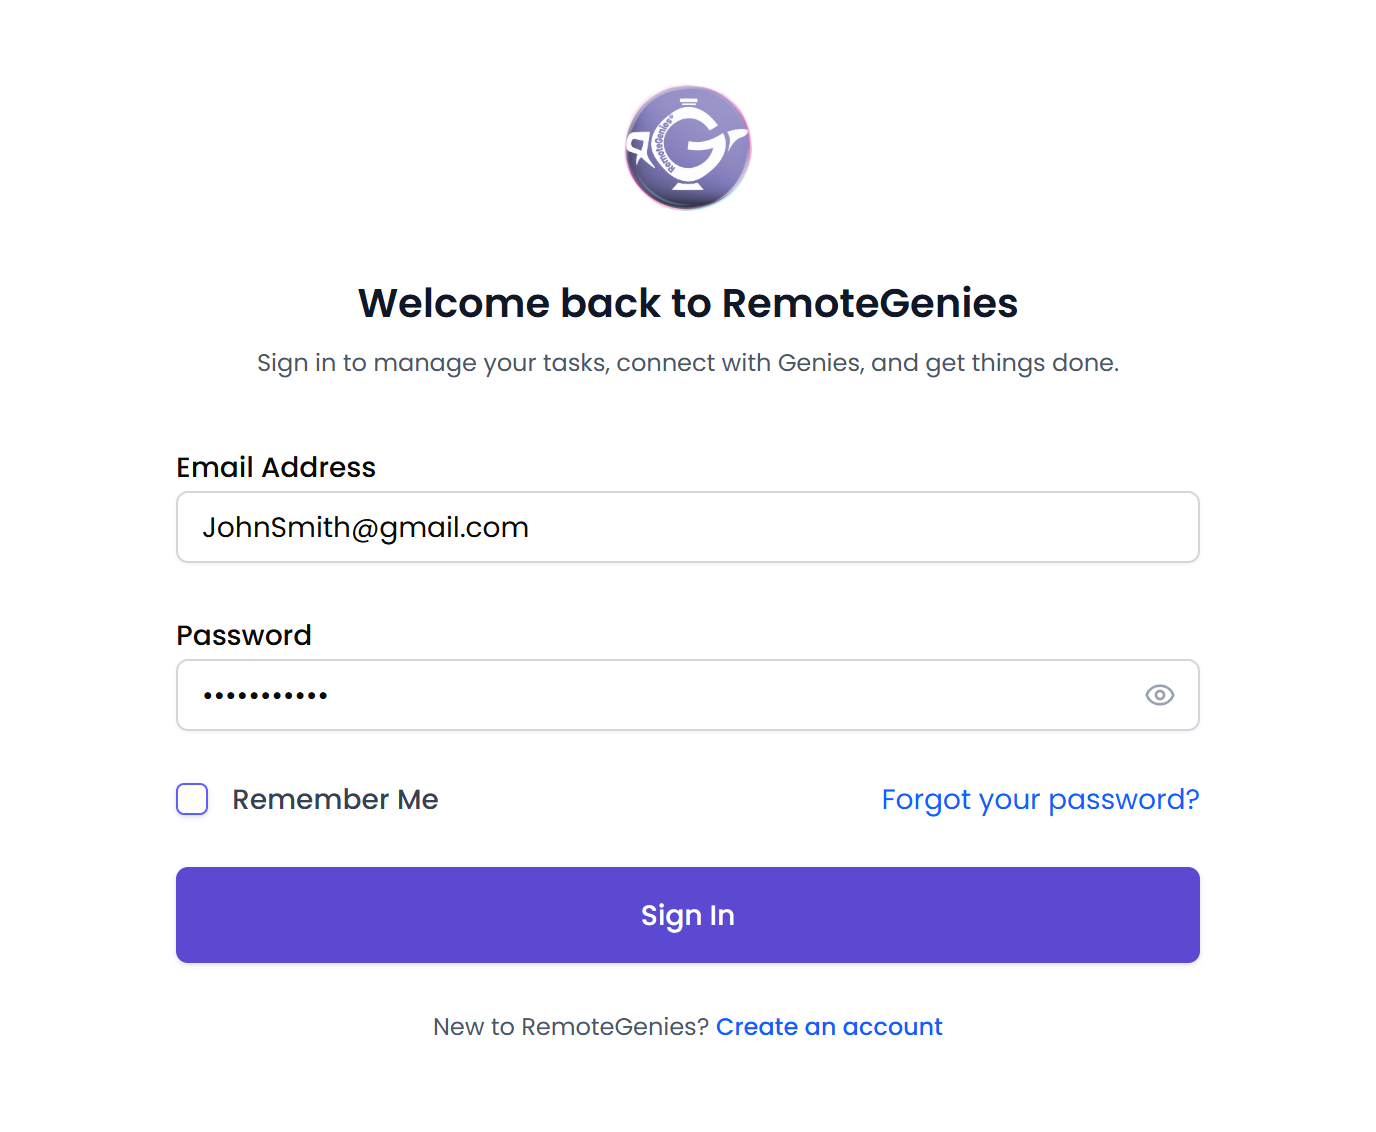
After setting your password, you can now sign in using your newly registered email.
-
Once that's done, you're inside the platform.
Your first time on the dashboard
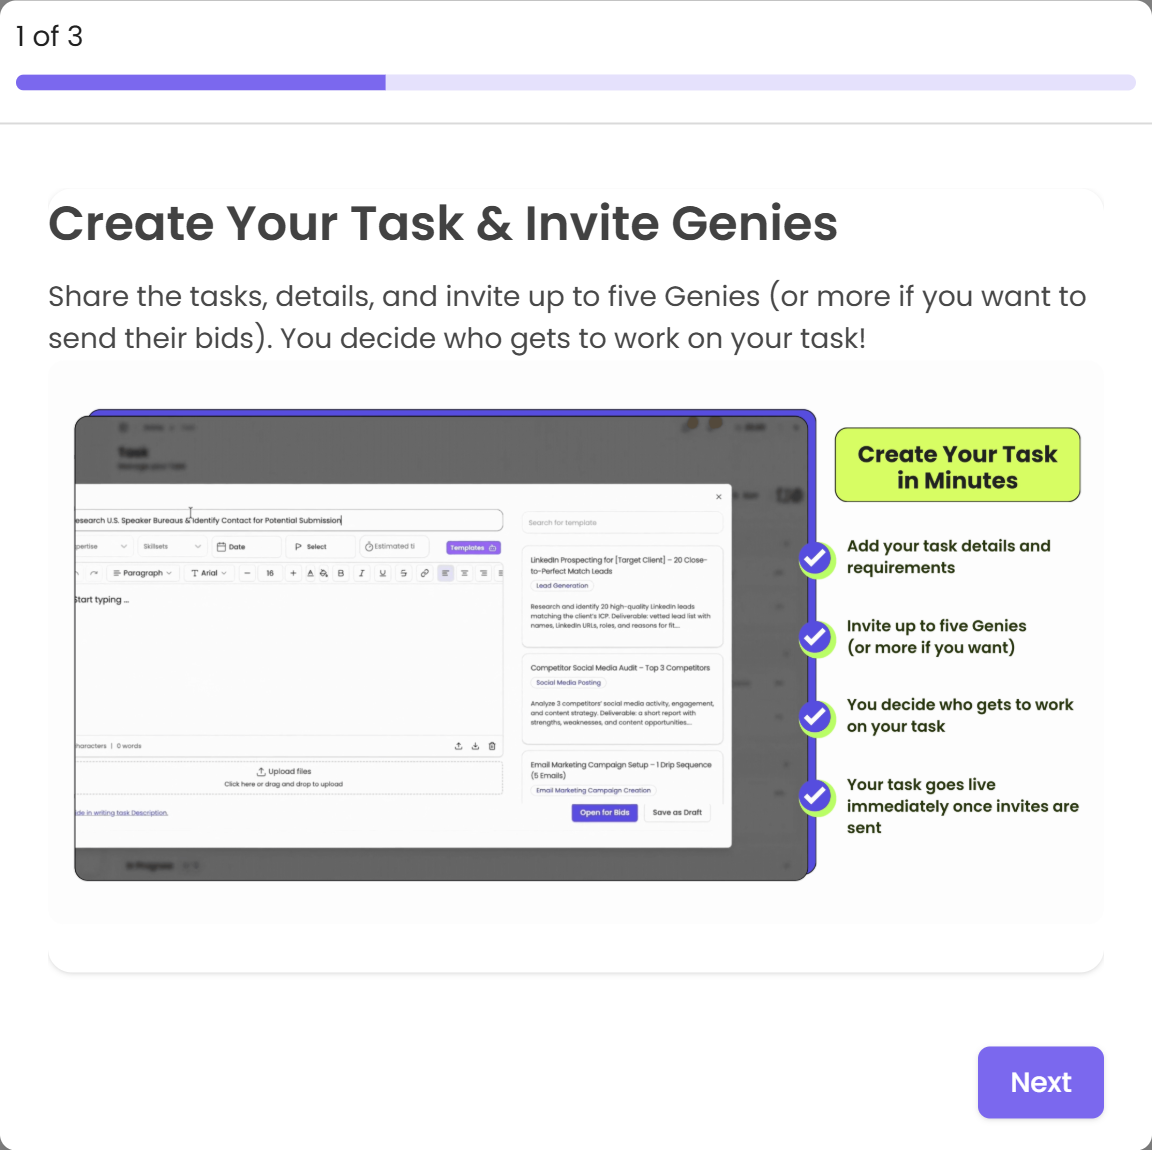
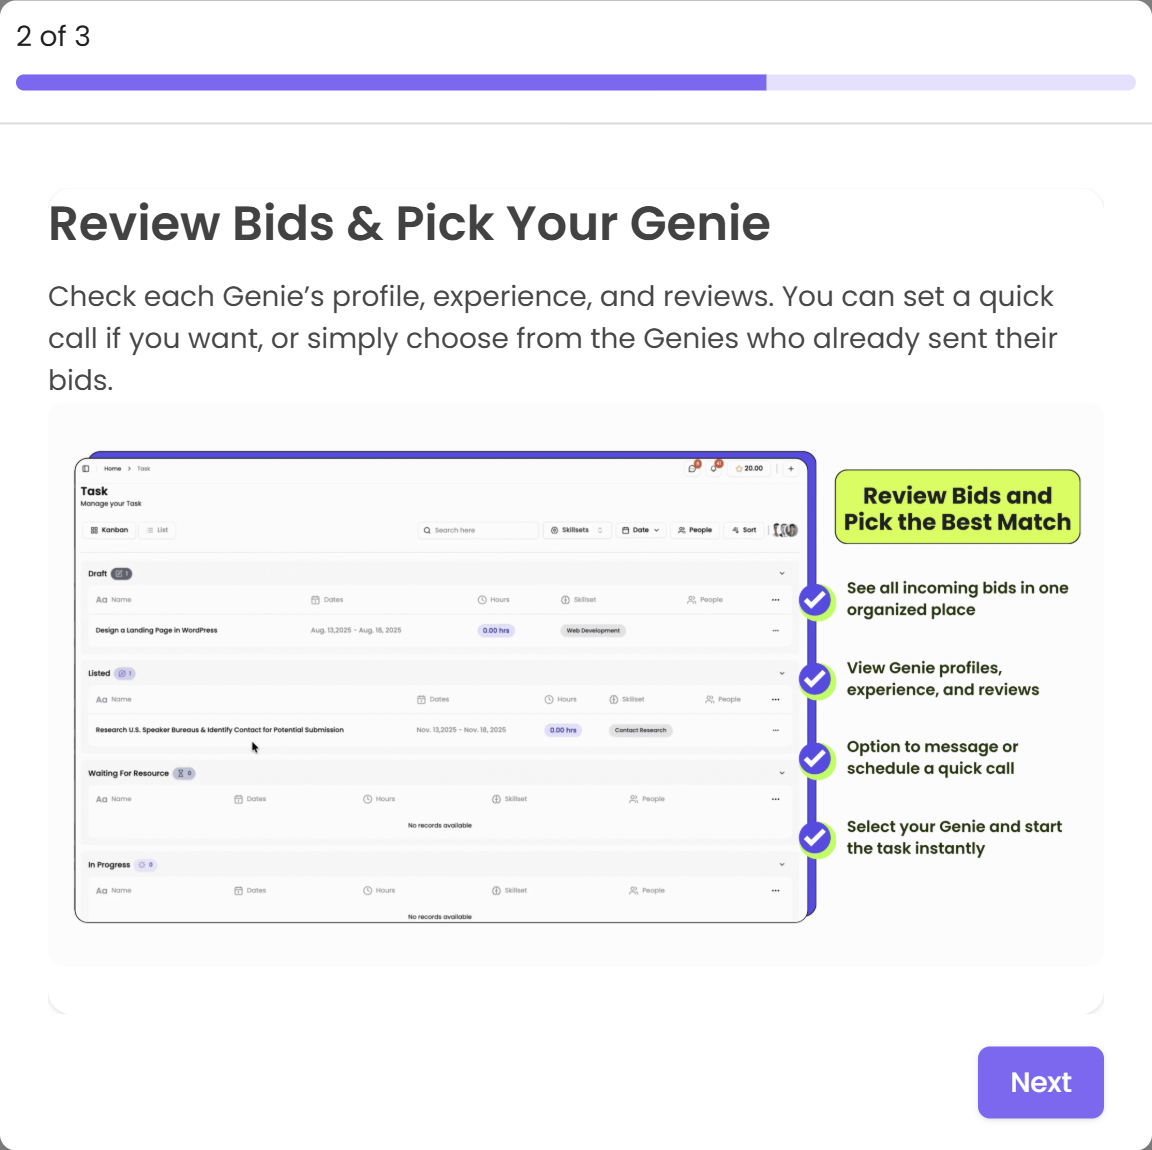
When you log in for the first time, a short walkthrough will appear to orient you. It covers three things:
-
Creating your first task and inviting Genies
-
Reviewing bids and picking your Genie
-
Getting started with the platform
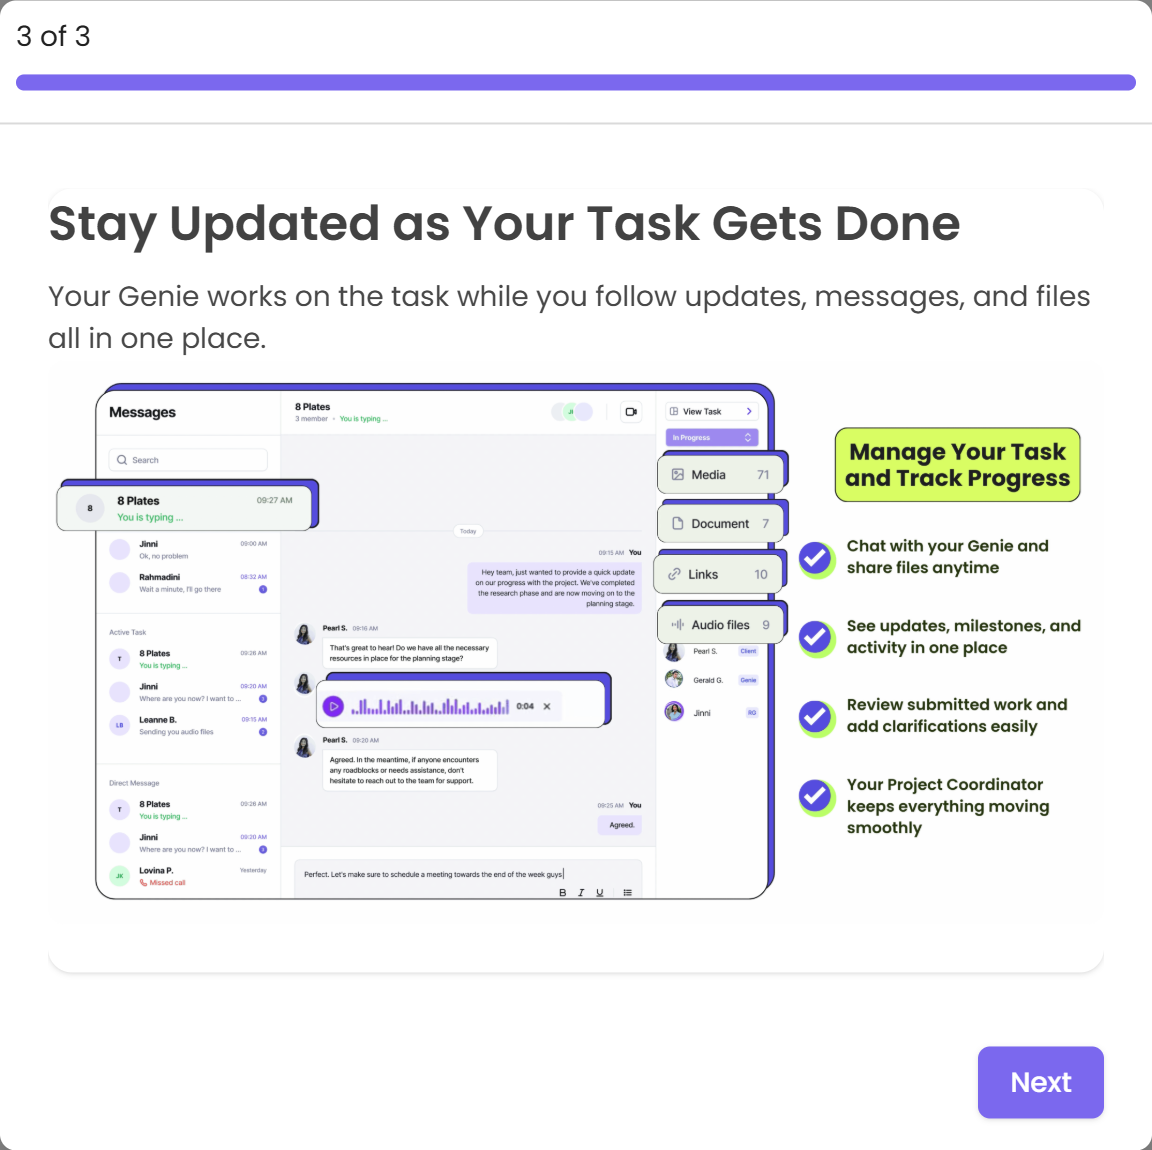
After the walkthrough, if you haven't claimed your free credits yet, a prompt will appear to do so.
Free credits on sign-up
New clients receive $20 in free credits when they register. These are waiting for you as soon as your account is active — use them to post your first task.

Haven't posted a task yet?
If 5 days pass after registration and you haven't created a task, RemoteGenies will send you a follow-up email with a direct link to get started. Your free credits don't disappear — they're there when you're ready.
Already have an account?
Sign in here. The same login page serves both clients and Genies — the platform routes you correctly based on your account type.