What Happens After You're Hired for a Task
Once a client hires you for a task, here's what to expect at each stage.
1. You Get Notified
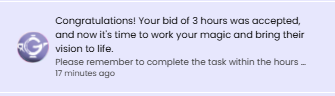
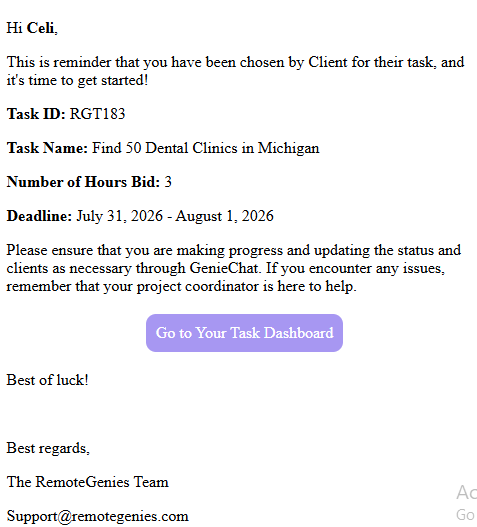
You'll receive a notification — both in-app and via email — confirming that you've been hired. The email will reference the task name and relevant details. Make sure your notification settings are active so you don't miss this.
2. Review the Task Details
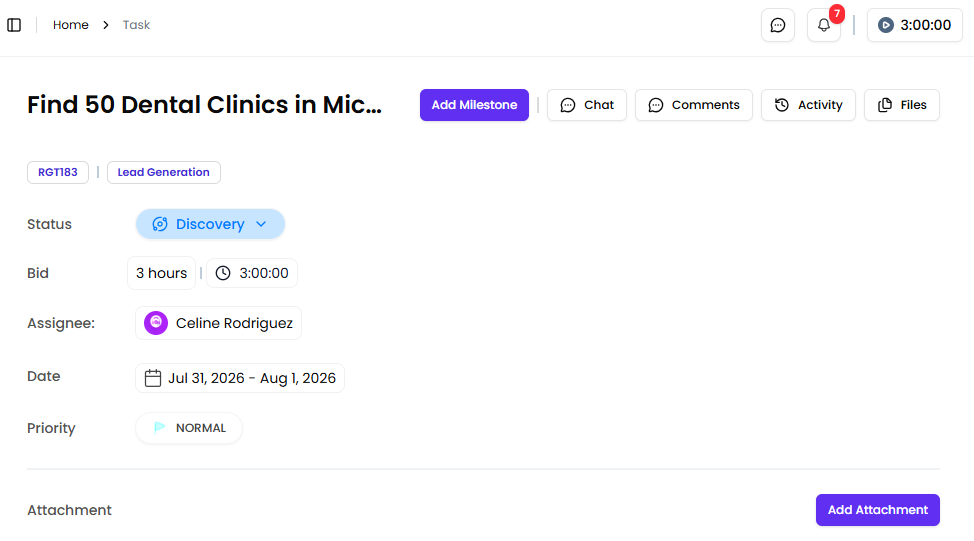
Once hired, you'll have access to the full task page. Key information you'll see:
-
Task Status — tracks where the task is in its lifecycle (e.g., In Progress, Revision, Completed)
-
Bid Hours — the committed hours you agreed to complete the task
-
Start and End Dates — your working window
-
Priority — urgency level (Low, Medium, High/Urgent)
-
Description tab — full instructions, requirements, and any resources from the client
-
Subtasks tab — if the task is broken into smaller items
-
Timer Logs tab — for reviewing or exporting your tracked time
-
Attachments — any supporting files the client has uploaded (max 5MB per file)
Read the description carefully before starting. If anything is unclear, use the task chat to align with the coordinator before the timer starts.
3. Coordinate via Chat
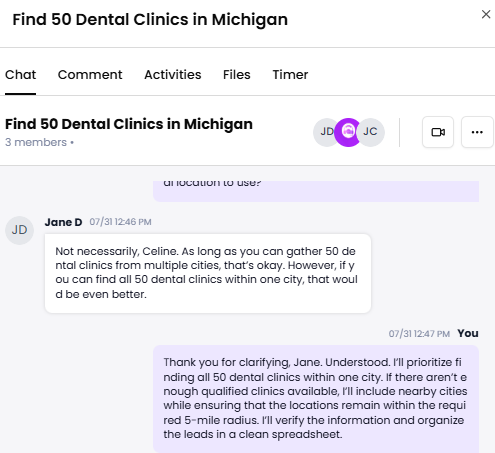
Each task has a built-in chat where you can communicate with both the client and the Task Coordinator. Use this for questions, file uploads, and progress updates. You can use @mentions to notify specific members.
Your Task Coordinator is part of this thread and will monitor progress throughout.
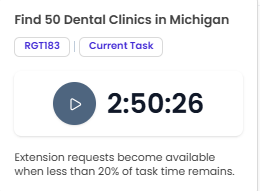
4. Start the Timer When You Begin Work
The task page has a built-in timer. Start it when you begin working, and pause it when you stop. Your tracked hours are what determine your billable time — hours worked outside the timer are not counted.
Keep your timer logs accurate. You can view and export them from the Timer Logs tab.
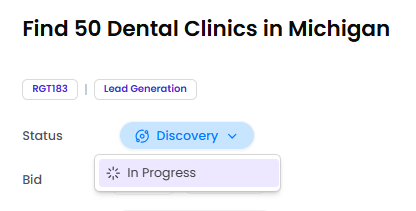
5. Update the Task Status
As you progress, update the task status from the dropdown on the task page. The status moves through stages such as In Progress, Revision, and Completed. Updating the status keeps the client and coordinator informed without needing a separate message.
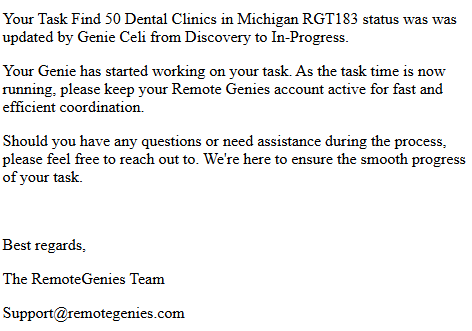
When you move a task to In Progress, the client receives an email notification confirming you've started.
6. If You Need More Time
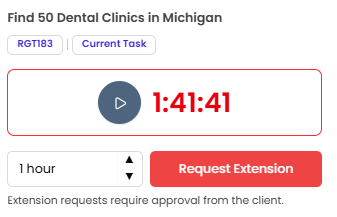
If you're running low on hours before the task is done, request an extension directly from your task dashboard using the Request for Extension button. State your reason clearly. You can only continue working once the client approves the request.
7. Task Completion
Once the work is done, mark the task as Completed. The client then has 7 days to review and approve. If no action is taken within that window, the task is automatically approved.
After approval, your earnings move to your Wallet and become available for payout.
Quick reference — your task page at a glance:
SectionWhat it's forTask Status dropdownUpdate progress stagesTimerTrack billable hoursBid HoursYour committed hour totalDescription tabTask instructions and requirementsSubtasks tabSmaller items within the taskTimer Logs tabView or export time recordsAttachmentsClient-uploaded supporting filesChatCommunicate with client and coordinator